Benefit From The Most Effective Pest Control London Has To Offer

Life in London can be a lot of fun and the fact that there are so many people to meet is a pleasing aspect for a lot of people in the English capital. However, not everyone, or everything, you meet in London is nice or pleasant. If your home, your property or your work premises is being infested by pests, you need to know how to resolve the matter quickly and effectively. If you are a business, your livelihood could be at stake and if you have uninvited guests at home, you may feel as though your happiness and enjoyment of home life is being compromised. This is why you should look for support from local experts and when it comes to the best standard of pest control London has to offer, Cenultra is the company to call on.

We are London specialists when it comes to home maintenance and improving the quality and standard of your home. This means that we are on hand to provide a wide range of specialist services. We are delighted to say that we provide the best standard of pest control London has to offer and if you are looking for support, guidance or effective pest control services, please get in touch.Pest Control London

You can be proactive with pest control

It is understandable that most people will only contact us for pest control support when they find out that they have a problem. If you don’t see any pests or there are no signs of vermin at your property, you may not think that you have a problem. This isn’t always the case though and there is a great deal to be said for being proactive when it comes to controlling pests in London. If you want to ensure that you look after your property in the most effective manner, calling on us to review your property and make sure that pests are unable to make their way into your home or property is a highly effective idea.

We are pleased to say that we offer the most effective proactive pest control London has to offer. If you run a business, you cannot run the risk of allowing pests and vermin to enter your premises and impact on your business. No one wants to spend money that they don’t have to but being proactive in managing and controlling pests will ensure that you save a lot of time, hassle and money in the long run. At Cenultra, we are delighted to say that we have helped many homeowners and businesses to remain free of pests.

We will help control and remove pests from your property

However, if you are being overrun by pests don’t worry because we can help you out. It is never too late to call on the experts when it comes to pest control and we will be on hand to ensure that you receive the most effective and efficient level of support for pest control in London.

When it comes to dealing with the most common pests in London, it can be helpful to know what the most common London pests are.

You will find that many London residents and businesses suffer from:

Ants
Cockroaches
Fleas
Flies
Mice
Mosquitoes
Moths
Rats
Spiders
Wasps

At Cenultra, we are highly experienced in dealing with these pests and many other pests so even if you don’t see the pest that is impacting on your home or property, get in touch and we will be more than happy to help.

There are a number of steps involved with effectively dealing with pests in London and we have a highly experienced team who are well versed in controlling pests in the capital. We have also heavily invested in the best equipment and material which means that you can be confident that we are able to deal with the pests that plague Londoners.

We aim to follow similar steps in dealing with pests in London and this ensures that we provide all of our customers with a consistent and effective service. We will survey your premises, we will carry out treatments which will impact on the pest, we will observe your property and we can carry out proofing and prevention services which will ensure that you receive the highest standard of service, support and care at all times.

Having pests at your property can be a great concern for many people, and this is why we aim to provide the most effective and reliable service at all times. For the best standard of pest control London has to offer, call on Cenultra.

Toilet replacement and installation – Tips on replacing your toilet

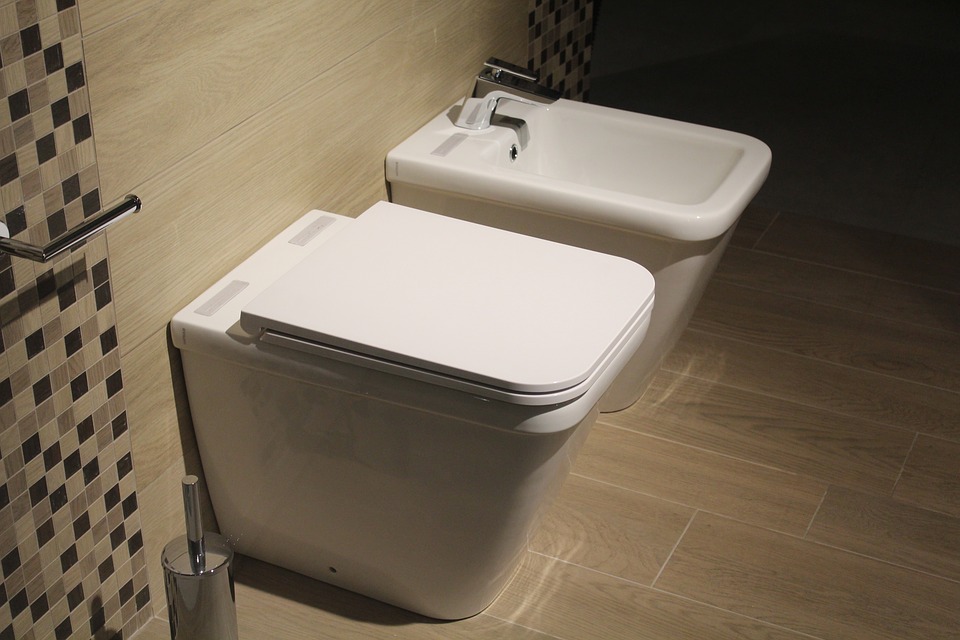
In terms of importance regarding decor, you may be surprised to learn that, following kitchens, people generally consider their bathrooms to be the second most important room to get right in terms of decor and styling, which is why people spend thousands upon thousands on new bathrooms, every single year. A toilet for example, although serving a pretty gross purpose, is absolutely essential for all households, and it can serve to be the focal point of many a bathroom, which is why choosing and installing the right toilet, is considered to be so important.

Toilet replacement and installation however, is not the simplest of jobs, which is why you may wish to seriously consider hiring professionals to come and install and replace your toilet for you. If you’re renovating your bathroom, or if you just feel like a new layout, a brand new toilet can make all of the difference to your bathroom, and if you are adamant that you wish to replace the toilet yourself, here are some useful toilet replacement and installation tips for you to consider.

Toilet installation Services London UK

Gather your materials – First and foremost, before you even consider replacing your toilet, you must first take the time to ensure you have all of the necessary tools and materials in place. A lot of people will begin a job without everything on hand, and so will waste time going back and forth grabbing items as and when they need them. By getting everything ready beforehand however, you can save yourself a great deal of time and effort. You will need:

  • New toilet
  • An adjustable wrench
  • A putty knife
  • A spirit level
  • A bucket
  • A replacement wax seal
  • A sponge
  • A tape measure
  • A hacksaw
  • A mask

Get rid of the tank – When it comes to toilet replacement and installation, once you have all of the tools necessary to begin, you will need to first red rid of your old toilet tank. First the toilet will need to be removed, making sure the water is switched off. You should flush the toilet and use the sponge to soak up any excess water. The bolts securing the toilet to the ground should be loosened and removed, before the toilet and tank can then be carefully lifted away. Take the tank outside and place it on the ground next to your skip, don’t throw it away just yet, just in case you forgot to remove a bolt or washer that may come in handy.

Take out the wax ring – Your next job will be to carefully remove the wax ring of the toilet. You should gently rock the toilet bowl back and forth, which should then work to loosen the seal and make it easy for you to remove. The bowl should then carefully be lifted up and away, and the putty knife should be used to loosen and remove the large wax seal. Using a clean damp sponge, make sure you wipe away any excess wax. Before you begin this process, it is advised that you wear your mask, as there is a possibly that harmful and smelly gases could emanate from the pipe below.

Fit your new bowl – Now the fun can begin, as the gross and nasty stuff is out of the way, so you can now focus on placing and installing your new bowl. A new wax seal should be placed around the pipe opening in the ground. The new bowl should be carefully aligned with the flange, and finally, to help set the wax seal, weight should gently be applied to help with the seal. You should then take the time to secure the bowl using the various nuts, bolts, and washers, before tightening them. Make sure to tighten them, but don’t over tighten them as this could cause damage to your shiny new toilet, and nobody wants that. If the bolts are a little too long, use your hacksaw to shorten them.

Finally, install your new tank – Now that the bowl is in place, the final job is to install your new tank and you will then be ready to rock. Press the gasket down onto the tank outlet, carefully position and centre the tank onto your toilet bowl, apply and assemble the various bolts and washers, and finally, tighten them alternately until the tank is level, which is when you should use your spirit level. If not, adjust the tank until it is entirely level.

Switch on the water – Now your toilet is installed and assembled, it is now time to switch the water back on. Switch it on, let the tank fill, and a few minutes later, give it a practice flush. If done correctly, the toilet should flush and fill itself like normal. Look for any leaks or signs of water escaping, and if you do notice any, switch off the water and discover where the water is coming from.

Tap Repairs – Helpful plumbing tips

When it comes to looking after your home, tap repairs and other similar service providers can prove invaluable, due to the fact that the jobs they do are so simple for them, yet so incredibly beneficial for you. Your water system in general, is incredibly complex, and if anything were to go wrong with it, it could potentially cost you thousands upon thousands to get put right, not to mention the fact that it would make life pretty miserable in the process. Tap Repairs London Local

Finding a good plumber may sound pretty easy and straightforward, but in reality, that is not always the case at all, and some plumbers can actually end up making things even worse. Now, the majority of plumbers out there are fantastic, and provide top of the range services, but unfortunately, you get what you pay for so a good plumber will not come cheap. To help ensure that you never actually need to hire a plumber however, there are things you can do to help ensure you care for and look after your plumbing, keeping your plumbing systems in tip top condition. Here’s a look at a few helpful plumbing tips for you to try at home.

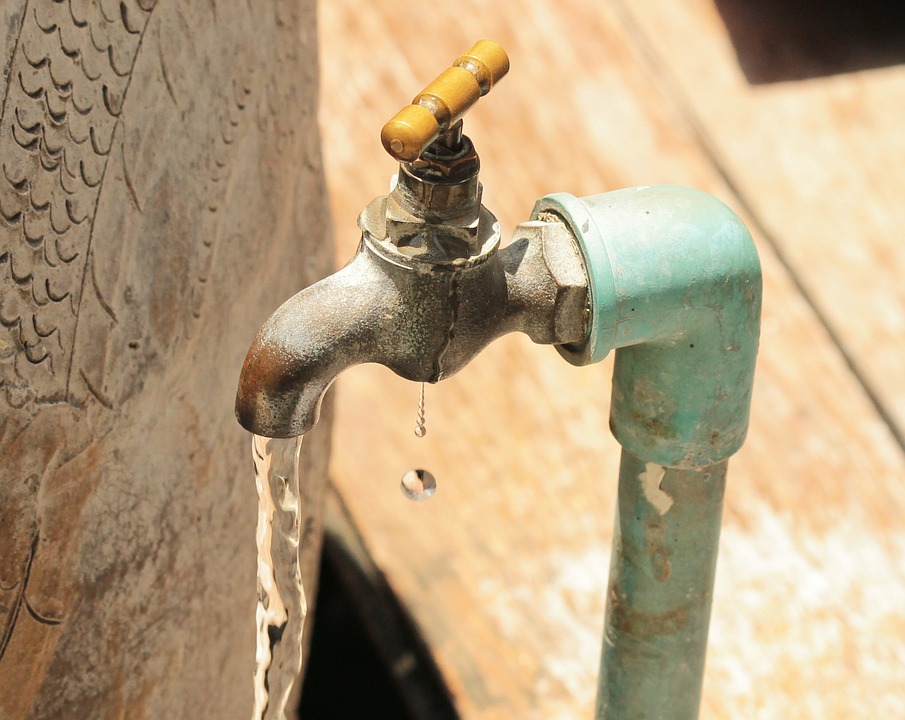
Look after your taps – Tap repairs may seem pretty simple and straightforward, but in reality, they only are, if you know what you’re doing in the first place, which is why you may wish to hire the professionals to deal with your tap repairs. If you have a leaking tap, or a dripping ball valve or tap, rather than simply putting up with the drip, you should instead deal with the problem early, before it becomes a big deal. If the washer on your ball valve is deteriorating for example, it is only going to get worse in the long run, and make matters worse. This means that what was once a simple and routine job, could potentially be a much bigger job, several months, even years, down the line. If a tap is dripping, obviously something is not right, and when it comes to tap repairs and plumbing, small jobs can eventually become much bigger jobs.

Inspect places you can’t normally see – If you have a bath, for example, there should be panels there which allow you to take a look under the bath, and see exactly what is going on under there. If for example, the pipe leading into the bath is leaking, even if it is an ever so slight drip, this will result in your boiler losing water pressure, and it could result in something much, much worse. if you do have a slight leak, the water isn’t evaporating, it will be dripping somewhere, probably onto your wooden floorboards. As you know, wet wood eventually turns rotten and so the entire ceiling could potentially collapse and cave in, which would be devastating. Every few months, look under cupboards, under baths, under sinks, and even under floorboards if possible, and make sure you don’t have any slight leaks. If your boiler is losing pressure, this is usually the sign of a leak somewhere, so finding it early could save you money and hassle.

Maintain your boiler – Your boiler is basically the hub of your entire plumbing system, all pipes are connected to it, and each appliance in your home that gets running water, will be fed to via your boiler. Every year you should have your boiler serviced and maintained, and if it is old and prone to breaking regularly, you may wish to consider saving up and investing in a new one, which would eventually save you money anyways. Your boiler’s flame should be a clear and strong blue colour – anything else could be a sign of damage. The pressure should also largely remain constant, and although slight drops will occur now and then, especially in the winter, if you are having to top up the pressure regularly, something is almost certainly wrong. Although the numbers vary from model to model, most boilers should have a pressure of between 1 and 1.5 bars.

Know your water – Some locations have very hard water, which means that limescale deposits can quickly build up, particularly on shower heads and on taps. Limescale can damage appliances and can make them less efficient, so knowing how hard your water is, is essential. Regularly de-scale your appliances using lime scale removal solutions and treatments, or, simple vinegar, which works just as well as expensive treatments.

Don’t waste water – Whether on a water meter or fixed rate tariff for water, you should still make sure that you never waste water unnecessarily as wasted water means appliances are being used for no reason, and nothing should be used more than it has to be, because, well, it’s just unnecessary. If you have a shower, try having a five minute shower instead of a ten minute one. Have short showers instead of baths, make sure you switch taps off properly, don’t leave taps running unnecessarily, and make sure you don’t have any leaking hosepipes or outdoor appliances that happen to be wasting water.

Shower repairs – Shower repair and maintenance tips

In terms of feelings of pleasure and relaxation, there are fewer finer things in life than getting home after a tough day, and cleaning yourself in a warm and soothing shower, as the hot water rinses over your body and washes your troubles and tension away. A shower is considered one of the most beneficial and important home appliances you could ever wish for, due to the fact that it will not only help keep you clean hygienic, but it will also help make you feel better in the process.

Shower repairs and general shower maintenance however, is a whole other story as repairing and caring for your shower is not simple feat. A lot of people will simply buy a shower, have it installed, and will then let it run itself into the ground, without caring for it or maintaining it. shower repairs london uk

This however, is far from ideal as failing to care for and to maintain your shower, will only leave you with a great deal more to do in the near future. Small problems can eventually go on to become bigger problems, which is why you need to act early, and get there before things do get worse. Here are some tips on avoiding having to deal with shower repairs later on in life, as we look at general shower repair and maintenance tips for you to consider.

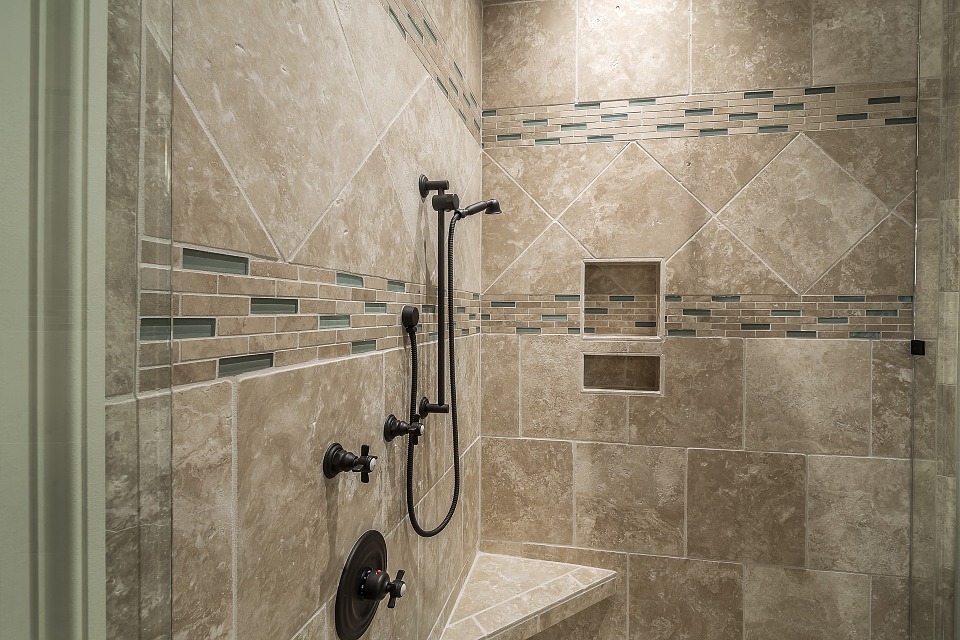
Examine your seals regularly – One of the main reasons why shower repairs are so common, and one of the primary reasons why plumbers tend to get so much work on a weekly basis, is down to the fact that shower seals can get worn away with time, which means that water from the shower can leak through tiles and through the ceiling. Now, in most cases this is a minor inconvenience as only a slight leak will occur, but if you fail to notice the leak, the wooden floorboards can eventually rot due to the water, and that is where ceilings can collapse, which can cost thousands. Examine your shower seals regularly, and perhaps even test them by trying to isolate certain areas and testing their water tightness.

Regularly soak your shower head – Removing a shower head is not a tough job, and it is certainly not time consuming either, yet people are still hesitant to do so. By removing the shower head, you can then inspect it for damage, but on top of that, you can also clean it and de-scale it. Lime scale will eventually build up around all appliances that rely on water, but if your water is especially hard, lime scale can build up much quicker than usual. To de-scale your shower head, either submerge it in a sink full of de-scaling solution, or alternatively, spray it with a specialist de-scaler, and seal it in an airtight plastic bag and soak it overnight. The next day, rinse it off and it should be sparkling clean, and it should also work much more effectively as well.

Don’t use the shower for too long – Although after a tough day, or when you’re feeling especially cold, it can be tempting to have a long shower and to just relax and have a nice little think about life (we all do it in the shower, after all) in order for you to keep your shower in perfect working order, you should make sure that you don’t use it more than you have to. Like all things in life, the more it is worked, and the harder it is worked, the more likely it will be to break and malfunction. Of course you should still shower daily, but if you’re guilty of showering for 10 – 15 minutes at a time, try to cut back to just 5 minutes as that gives you more than enough time to wash yourself and feel the benefits, without overworking your shower. Besides which, by reducing the amount of time you spend in the shower, you are not only helping to prolong the life of your shower, you are also doing your bit for the environment as you are using less water and energy, plus your water and heating bill will be lower as well, so it really is a win-win.

Think before tiling in your shower – Although from an aesthetic standpoint, showers that are tiled into the wall generally tend to look much nicer, the major drawback with that is that if the shower does develop a leak behind the tiles, in order to get to the pipe and fix the leak, you will need to remove the tiles, which will take time and cost money. Obviously a shower isn’t forced to develop one of these problems, but it is certainly a possibility, so when it comes to shower repairs, always bear that in mind.

Timer repairs – Extending the life of your washing machine timer

When it comes to household appliances that have to be built sturdily, and built to last, it simply cannot be denied that washing machines are, for the most part at least, some of the most durable and hardwearing machines in the entire world, which is why washing machine timer repairs are so essential.

When you stop and think about just how much use a washing machine gets, it really is pretty amazing that they last as long as they do. Each day your washing machine will be used, possibly even multiple times, and so to say it can take a bit of a beating, would be a vast understatement. When it comes to using your washing machine however, ensuring that the timer works correctly is absolutely essential, for so many reasons. Some people for example, will set the timer for their washing machines so that they switch themselves on during the night, when energy and electricity tariffs are much cheaper. Timer-Repairs Boiler UK

A faulty timer can also interfere with various washing cycles, so again, timer repairs are absolutely essential. If your washing machine time is indeed faulty, or ready to throw in the towel, you should always hire the professionals to take care of the timer repairs for you. If you are desperate and capable however, there are things you can do to extend the life of your washing machine timer. Take a look at this handy step by step guide, and see what you think.

Begin by removing the control knob – To begin with, the first thing you are going to have to do is to remove the control knob. Simply push the knob in like you would when switching the device off, and then turn it counter clock-wise until it begins to unscrew. Behind it there should be a circular indicator plate, which you should also remove.

Gain access to the timer – Next up, behind the control panel you should find the timer. In order to gain access, there should be some form of plastic covering, which will have been designed to be removed by hand. Grasp the end caps and give it a firm pull forwards. One each side of the control panel, you should find two separate screws, which will need to be removed via a screwdriver. Once all screws have been carefully removed, put them somewhere safe, and then disconnect the wiring harness from the device. You should now be able to remove the timer.

Dismantle it and look inside – Now that you have the timer, it’s time, pardon the pun, to dismantle it and take a look inside to see what’s going on. Most timers will simply be plastic wheels with cams on them, along with a motor, and a brass comb complete with numerous contact arms. All of the aforementioned components will be mounted upon a metal frame made from sheet metal. It should all be held together with three metal bent tabs, which will need to carefully be straightened out so that they can easily slide through the slots found below them.

Inspect the brass comb contact points – More often than not, in the case of a faulty timer, it is usually the brass comb contact points that are at fault. You can usually help to identify the problem by noting how your washer behaves. For example, if all of the cycles apart from the spin cycle are working, this could be a fault with the contact point relevant for the spin cycle. If you notice that all contact points apart from one, look fine, the one that does not look right I.E damaged, burnt, etc, will almost certainly represent the spin cycle.

Repairing the contact point – Now, this is where things get tricky, which is why, when it does come to timer repairs, you should leave things to the experts. By getting this far you’ve already saved money because it’s less work for the repair man to do, so you may wish to hand it over to them. If however, you feel confident, you could tackle the repair yourself. You could try using a soldering iron and building the contact point up ever so slightly, using just one drop or two of solder, to help repair the contact.

Reassembling – Now that you have identified the problem, depending on whether or not you chose to try to perform the repair yourself, you may wish to reassemble your timer. Put everything back together, and try your washing machine once again. If it was the spin cycle that wasn’t working, try using it on that cycle and see whether or not your repair worked. Remember however, this is only a temporary fix, and you should still leave the timer repairs to an expert, but if you are confident in your abilities, your repair may buy you a few extra days until an expert can get out to take a look at what is going on.